

If you’re an iPhone user, chances are high that you give the device’s camera a serious workout.
One study showed that iOS users snap 65% more pics during any given month than people who use Android-based smartphones. As you’ve messed around with your own photography, you’ve probably been amazed by some of its features — but are you using the camera to its full potential?
Check out these nifty iPhone camera tricks and tips that will make your shots the envy of your friends on social media.
1. Wipe the Lens
It sounds so obvious but most people don’t realize how filthy their camera’s lens is before taking a photo with their phone. Starting with a streak- and dust-free lens is one of the simplest and most essential iPhone camera tricks to snapping great shots. First, wipe the lens gently with a soft, slightly damp, lint-free cloth such as a lens cloth. Don’t use any cleaning products or compressed air and avoid getting moisture in openings.

2. Quickly Access Your Camera
Some of the best shots are those you have to take quickly and this vital iPhone camera trick lets you get them. Rather than fumbling to unlock your phone and then find the camera app, you can simply swipe left for quick access to your iPhone camera, even when the phone is locked. This can make the difference between capturing a great moment and totally missing it.
3. Shoot Vertical Panoramas
Traditional, horizontal panoramas are perfect for pics of wide-open spaces like the Grand Canyon, but vertical panoramas can be equally impressive. Use them to capture the full height of tall objects, like skyscrapers, towering trees or flowing waterfalls in a single image. In the Camera app, turn on Pano mode and hold the phone in landscape orientation, so the built-in panorama mode points upwards. Press the shutter button, then slowly and steadily move or tilt the phone upwards to capture the entire image.

4. Use the Grid
With gridlines enabled, you can follow the “rule of thirds,” which is a composition guideline that places the subject of your shot in the left or right third of an image, leaving space in the other two-thirds more open. This favored style often results in compelling shots and is a favorite of professionals.
To display the grid on your iPhone camera screen, go to Settings > Camera, then turn on Grid. The lines you see crossing in front of your screen as you line up your shots obviously won’t be there on the final photo, so snap away.
5. Take Mirrored Selfies
For selfies that stand out, try out iPhone’s Mirror Front Camera feature. When this setting is enabled, the image you snap from the front-facing camera will look like what you see in the mirror. This may make the resulting selfies you take look more natural to your eye because it’s the reflection you’re used to seeing of yourself, versus a version that’s flipped. To try this out, go to Settings > Camera, then turn on Mirror Front Camera.
6. Turn Off Live Photos
Live Photos are an awesome feature of the iPhone camera that shows you what happened in the moments before and after a photo was taken. The drawback of these shots is that they can take up twice the amount of internal storage that a normal photo takes at the same resolution, leaving you with less room for memories.
Live Photos is left on by default, so to turn it off, just click on the icon that has three concentric circles at the top of your camera screen. It should be between the flash and timer icons and will be marked in yellow if it’s turned on but will have a slash through it if it’s off.
7. Live Text
Live Text is a feature in iOS 15 that lets you copy and share text within photos, translate languages, make calls and more. Open the Camera app, aim at something with text on it (such as a poster), tap the Live Text icon (which looks like a square with three horizontal lines in it) and tap Copy. Then, highlight the text you want and tap Copy again.
You can then paste the text into another app or tap an option like Look Up to find information about the text. If there is a phone number or email address, you can use it to call or send a message without having to manually type the number into your phone.

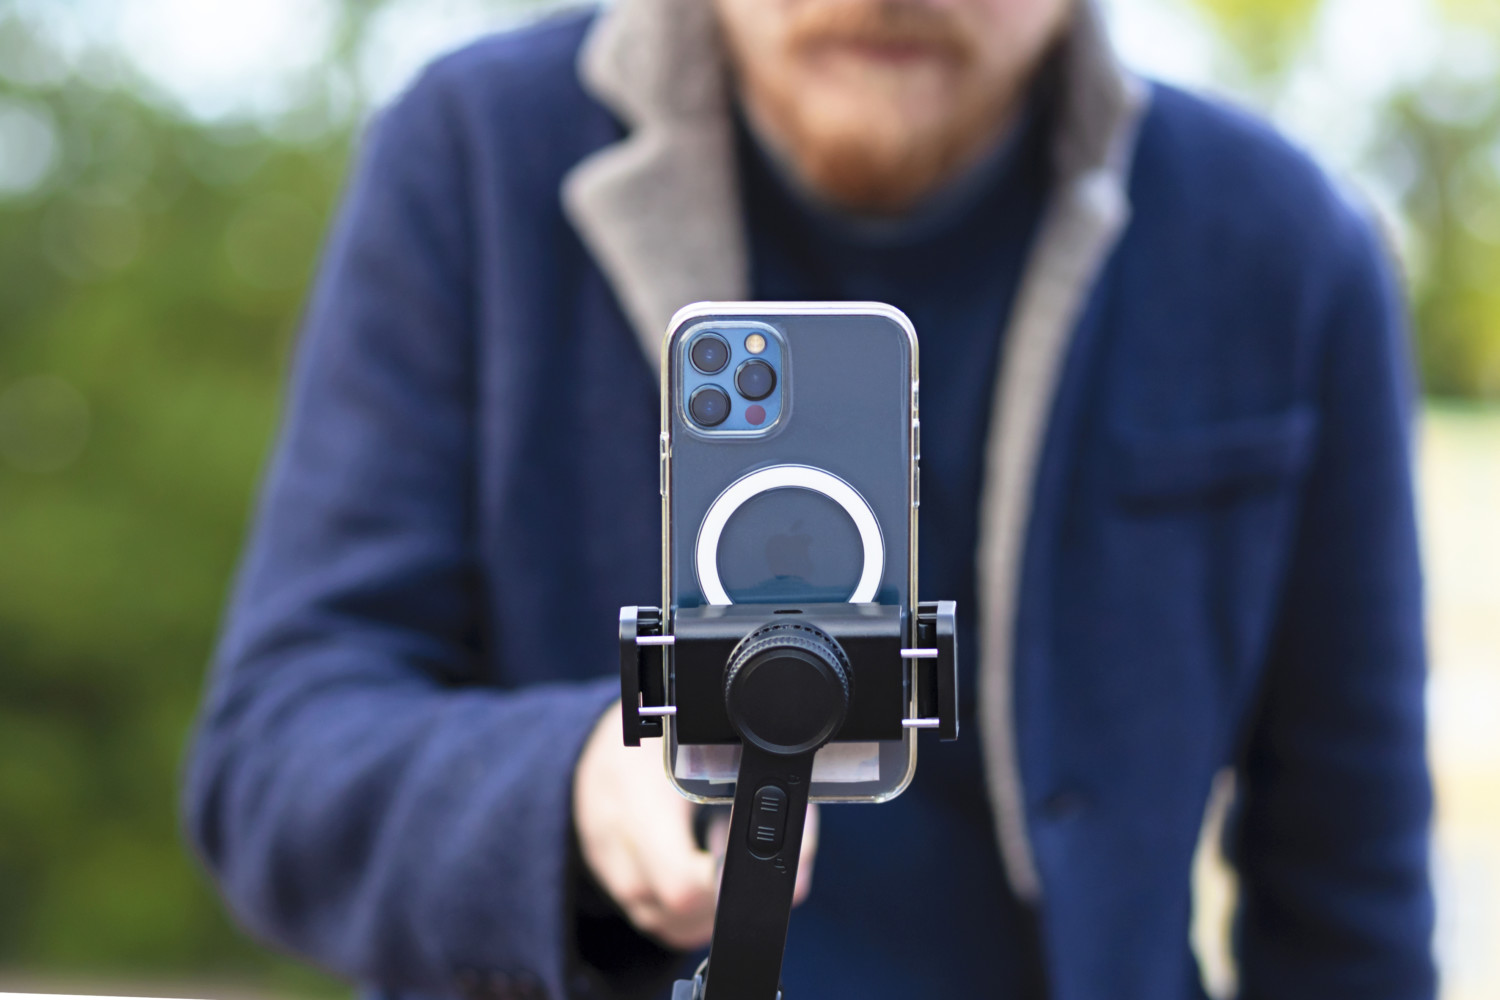
8. Easily Use Burst Mode
Also called continuous shooting mode, you can use this iPhone camera trick to take breathtaking action photos like a professional sports photographer. You don’t need to change any settings; just slide the Shutter button to the left and hold it to take a burst of photos. Release it when you want to stop snapping. With iOS 14 and later, you can capture images in burst mode with the Volume Up button. To enable this, go to Settings > Camera and turn on Use Volume Up for Burst.
9. Tap to Focus
Make the focal point of your photo stand out with just a tap. For instance, if you are taking a picture of a person, tap on their face. If you are aiming for something in the background, tap on the subject. Whatever you tap comes into focus, giving your shots a more polished look.
10. Night Mode
This iPhone camera trick helps you take awesome photos in low-light settings, rather than ending up with a dark, muddy image. Night Mode automatically turns on when the camera detects a dark environment, but you can adjust the capture time to improve quality. Tap the Night Mode icon, then use the slider above the shutter button to choose Max.
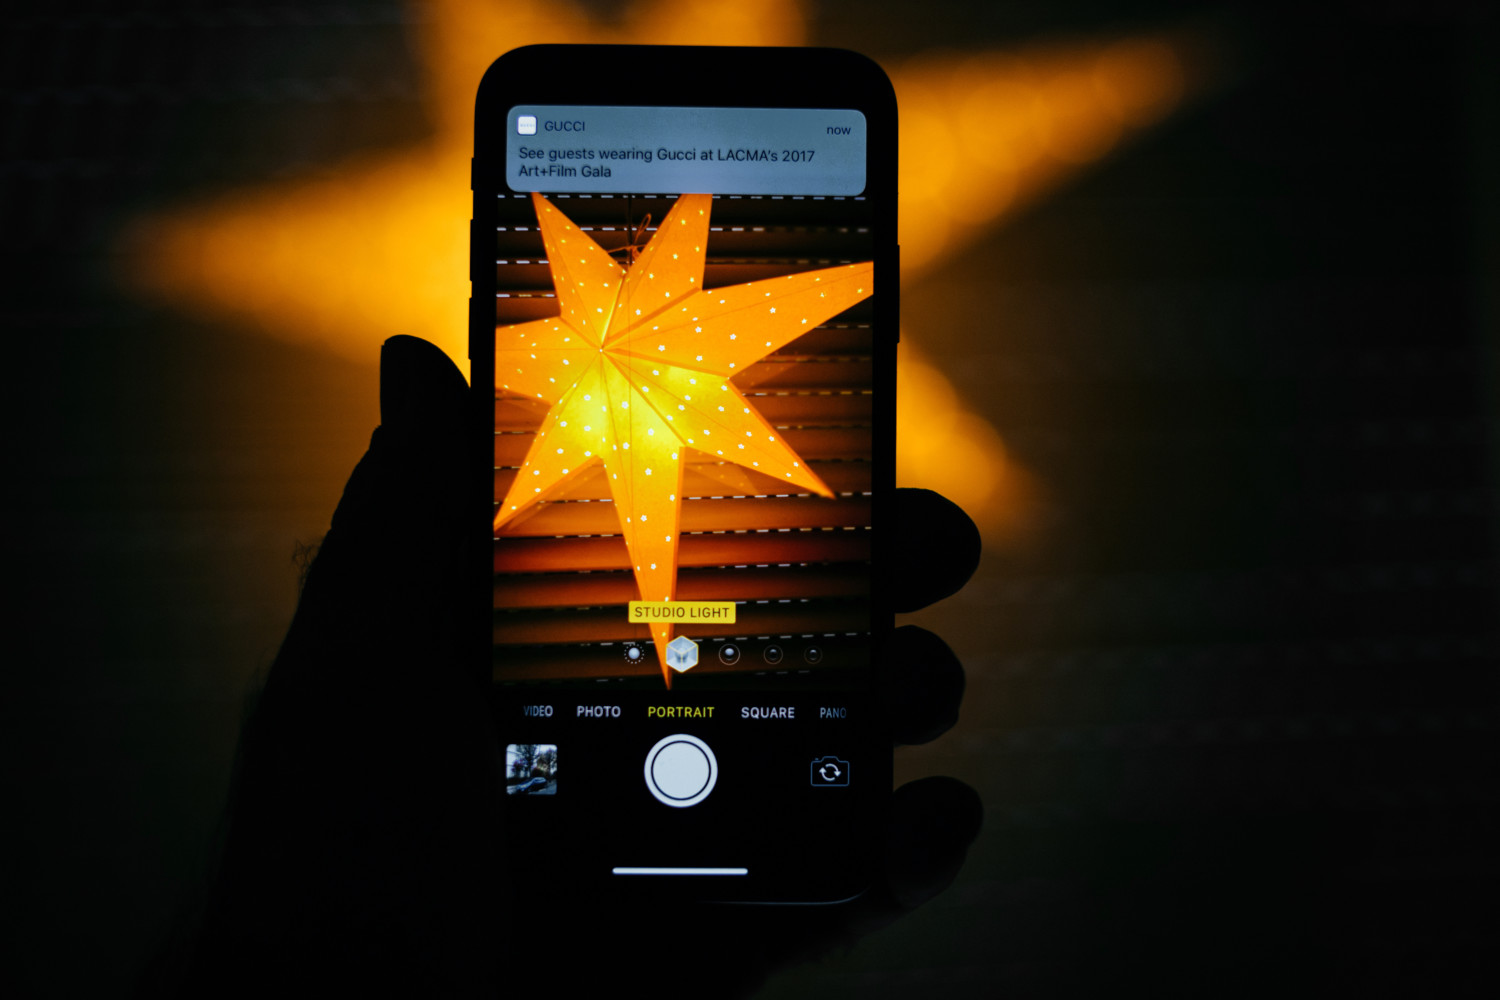
11. Portrait Mode
Apple promoted Portrait Mode in a series of ads when it first debuted but there are probably still plenty of users who have never experienced its effects. Portrait Mode greatly enhances photos with a depth-of-field effect and studio lighting. Open the Camera app, swipe to Portrait Mode and follow the tips on your screen. For instance, it might state that you are too close or the area is too dark. When Portrait Mode is ready, the name of the lighting effect turns yellow and you can tap the shutter button. You can use it on people or on pets!
12. Straighten the Horizon
Don’t despair if you snapped a stunning landscape shot, but it’s a little crooked. Open the Photos app on your iPhone, select the picture you want to fix and tap Edit. Tap on the Crop/Rotate tool, and Photos will automatically straighten the photo (you can also manually do it if that’s more your style).
This story originally appeared on Simplemost. Checkout Simplemost for additional stories.
